Follow the steps below to add a new receipt:
- In the navigation bar on the left-hand side, select “New Receipt” located under the “Warehouse” module and the “Receipts” feature.

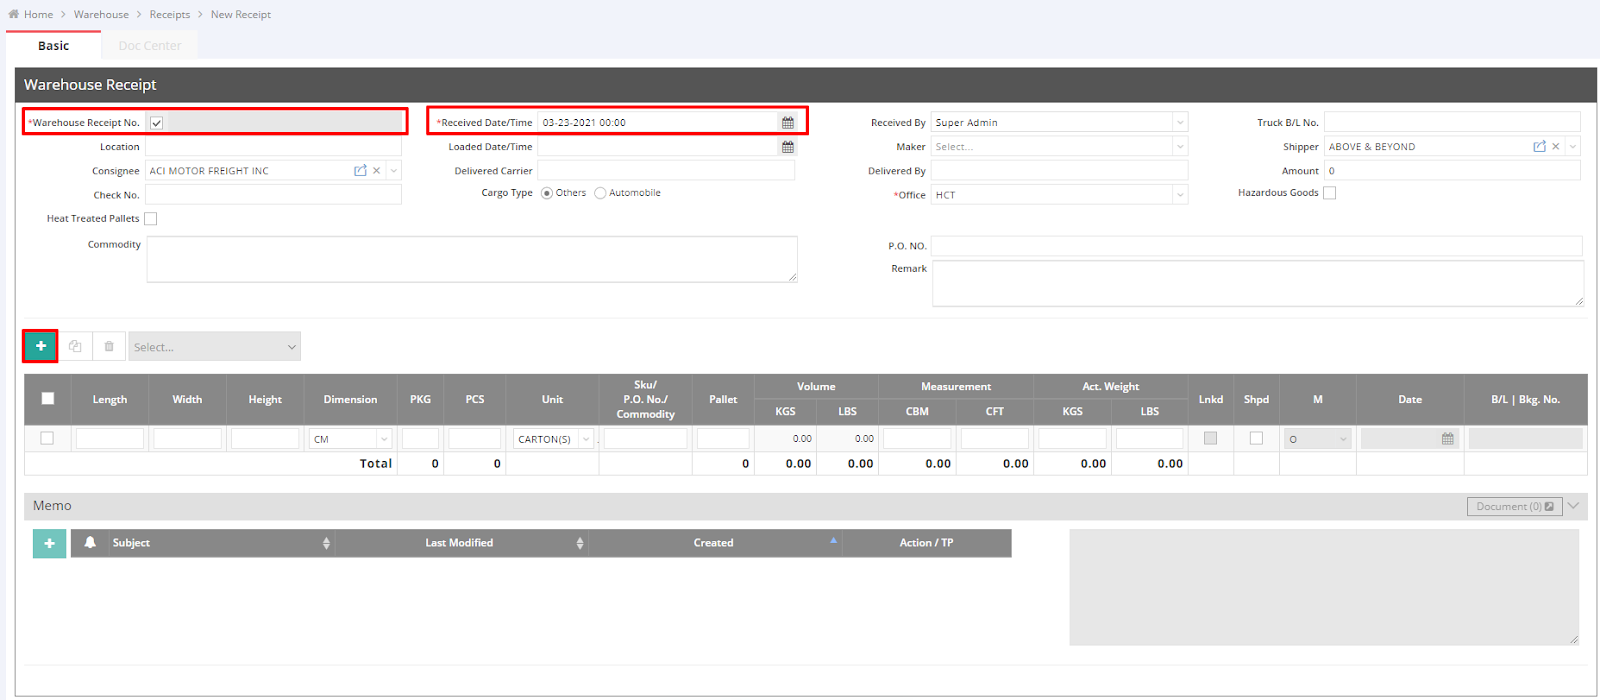
- Fill out the required fields marked with a red asterisk. You can either uncheck the box “Warehouse Receipt No.” to manually input the receipt number or allow the system to auto-generate it. Additionally, you can set the post date (Received Date/Time).
- Complete any other necessary information.
- Click the green “+” button to add an item.
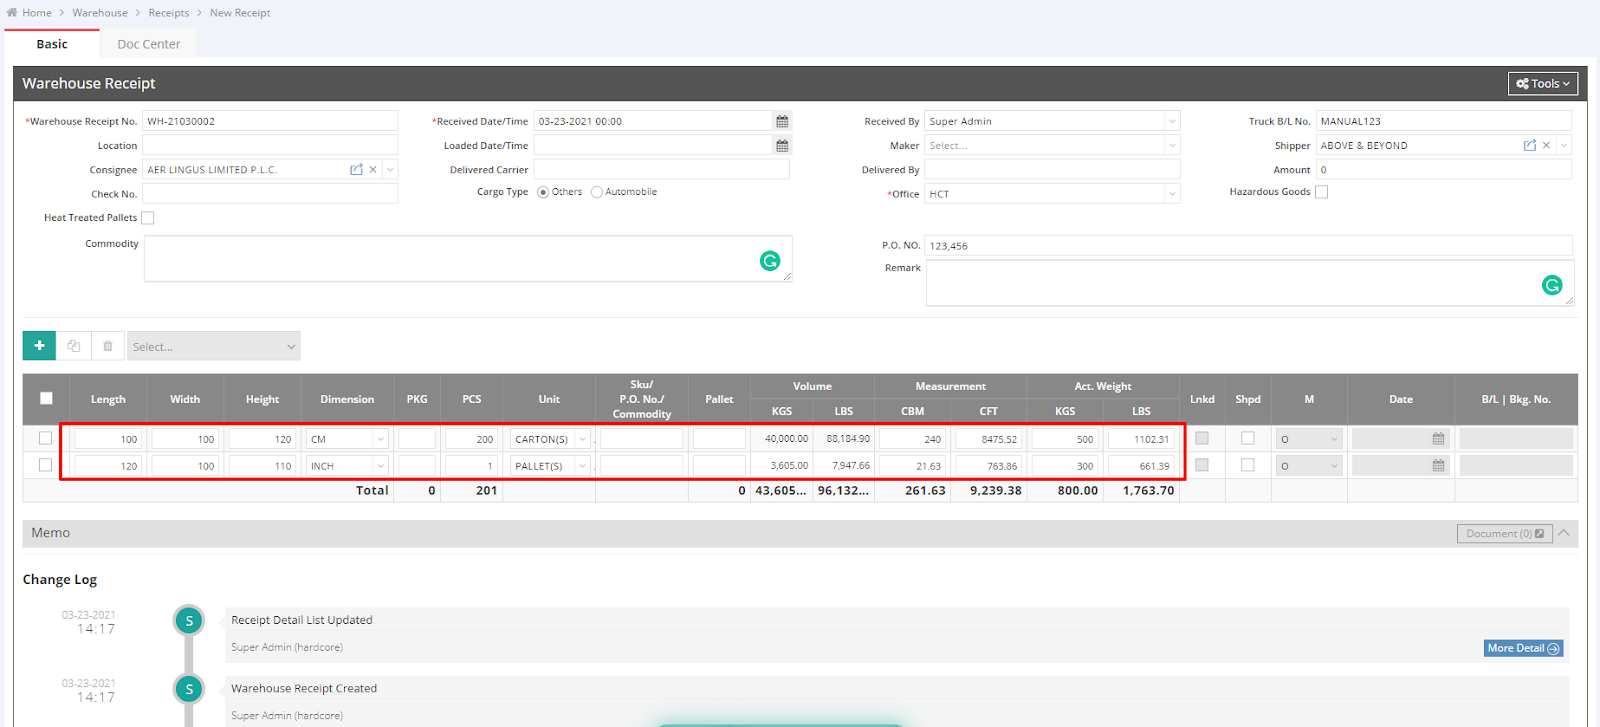
- Input the quantity (PCS), dimensions (Length, Width, and Height), and any other relevant information as needed.
- Save the entry.
For a visual guide on using this feature, please refer to the following videos: